Power & wiring
AC 100–250V · 50/60Hz · Live and neutral required
L8-HB / L8-HBU · SMART WATER HEATER SWITCH
Control a compatible storage water heater from the LCD panel or the app for your selected version. Set a timer and keep everyday power control within reach.
Power switching · Neutral required · EU / US · White / Black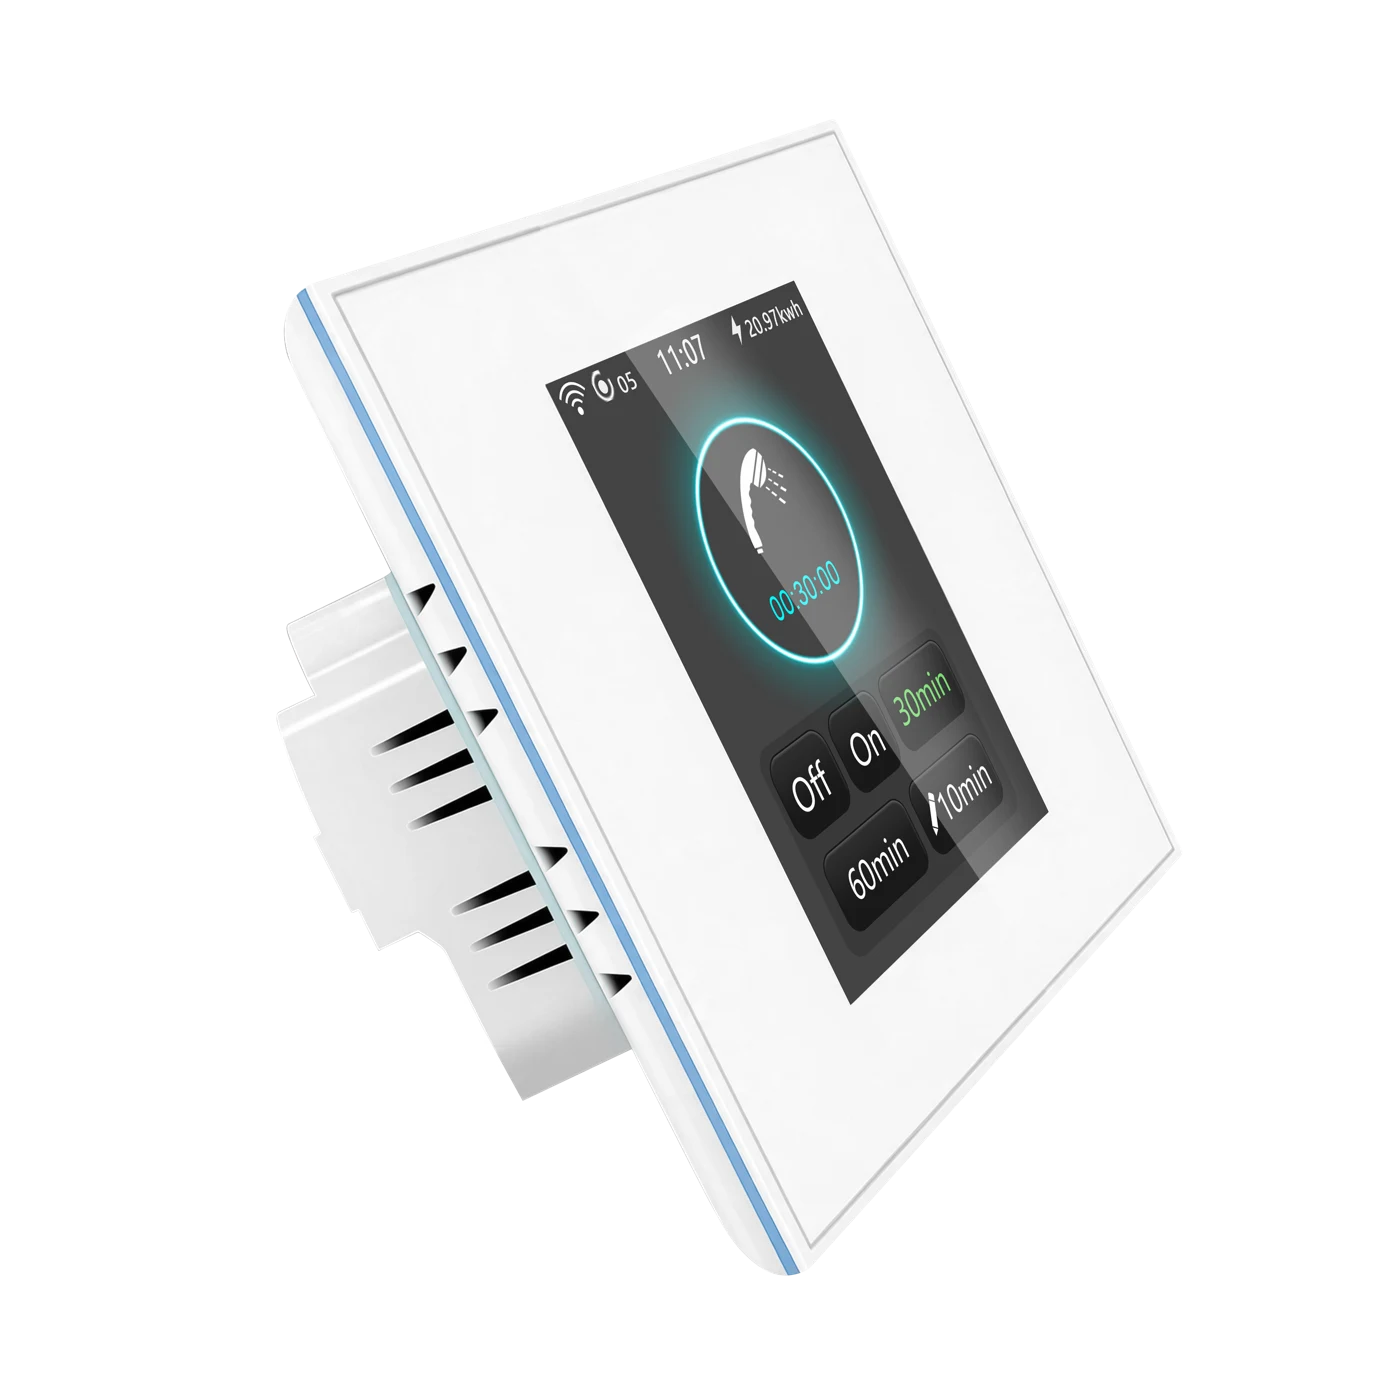
BEFORE YOU CHOOSE
EU and US panels use double-pole 16 A switching. Have a qualified electrician confirm the actual load, wiring and installation requirements.
AC 100–250V · 50/60Hz · Live and neutral required
16 A · double-pole
Compatible single-phase resistive storage water heater only, within 16 A at the actual supply voltage.
Power on/off only; no temperature sensing, setting or adjustment.
Keep the required upstream circuit/leakage protection and heater safety devices. This switch has no independent leakage, overload, overcurrent, short-circuit, overheat or dry-heating protection.
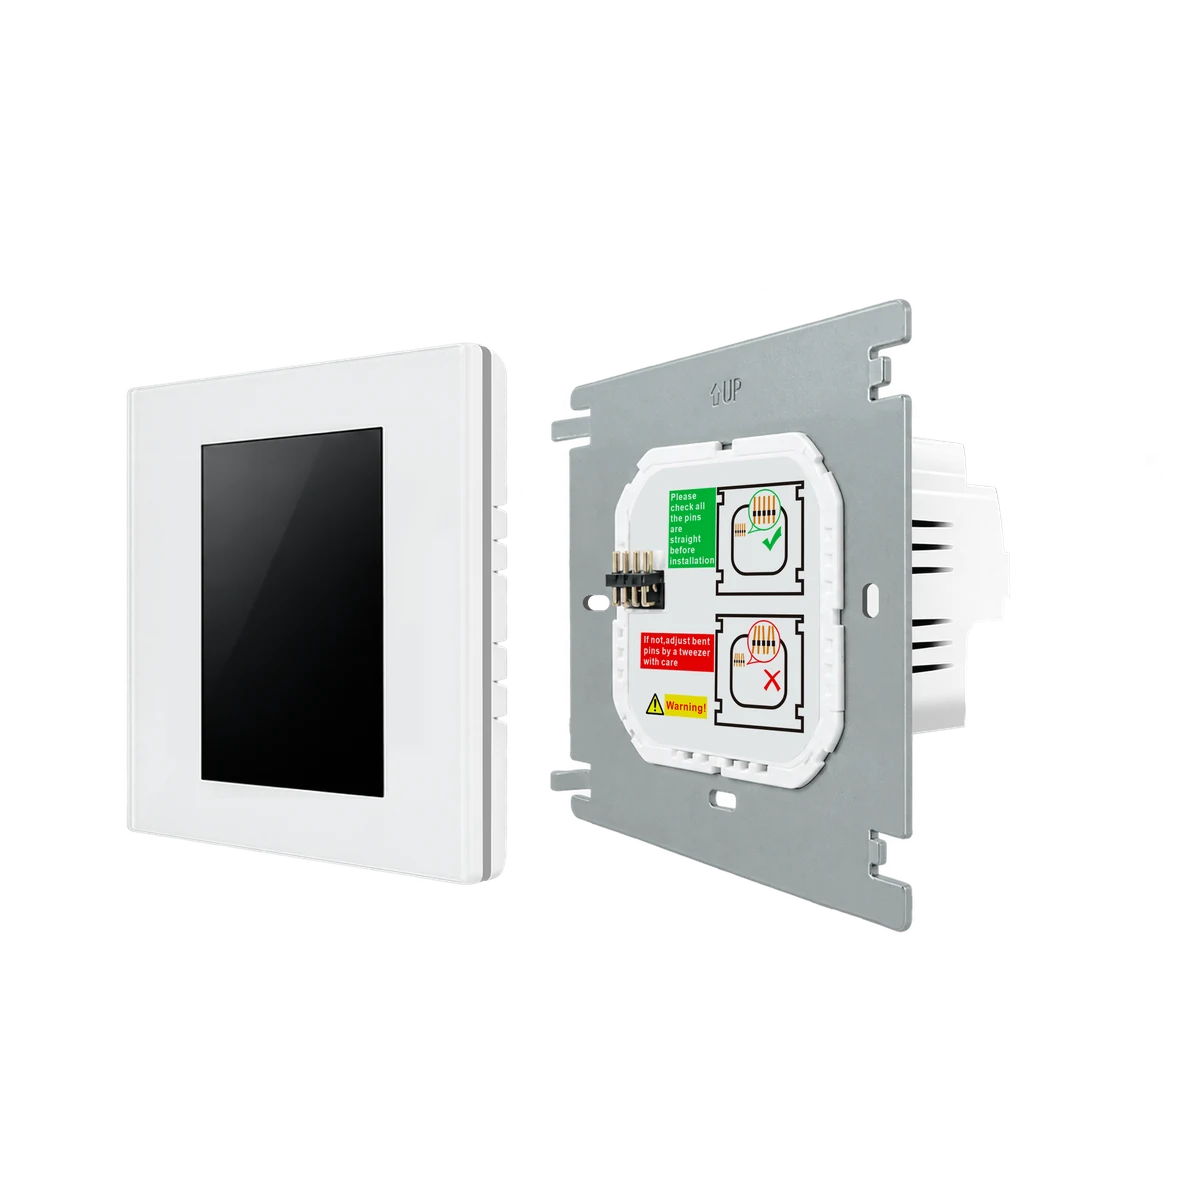
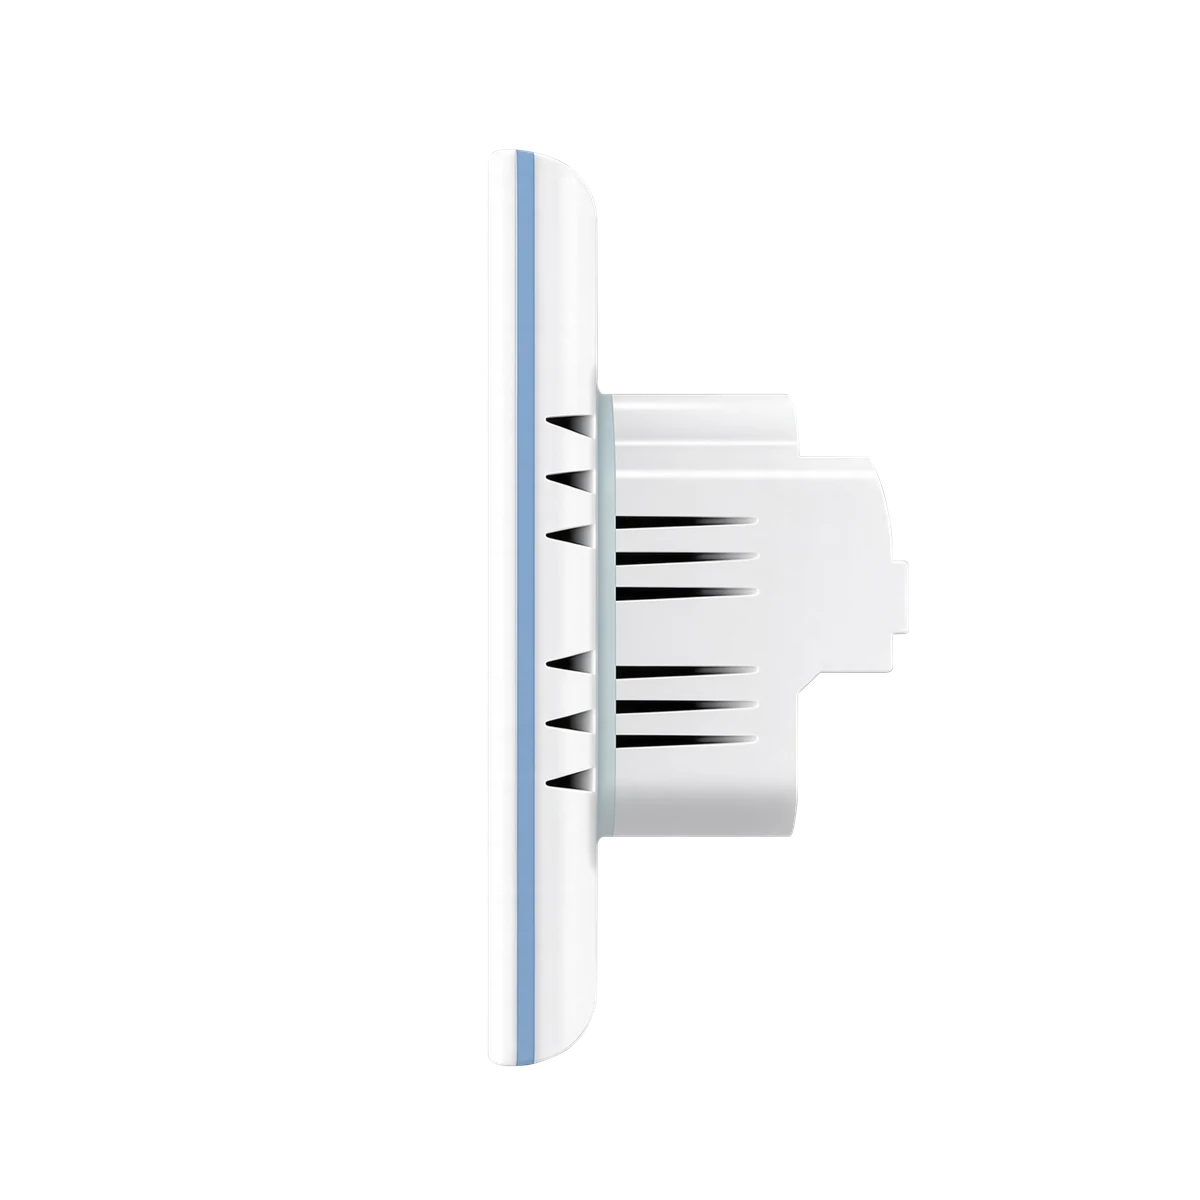
>38 mm; ≥50 mm recommended, with sufficient wiring space · 14–12 AWG
LCD WATER HEATER CONTROL
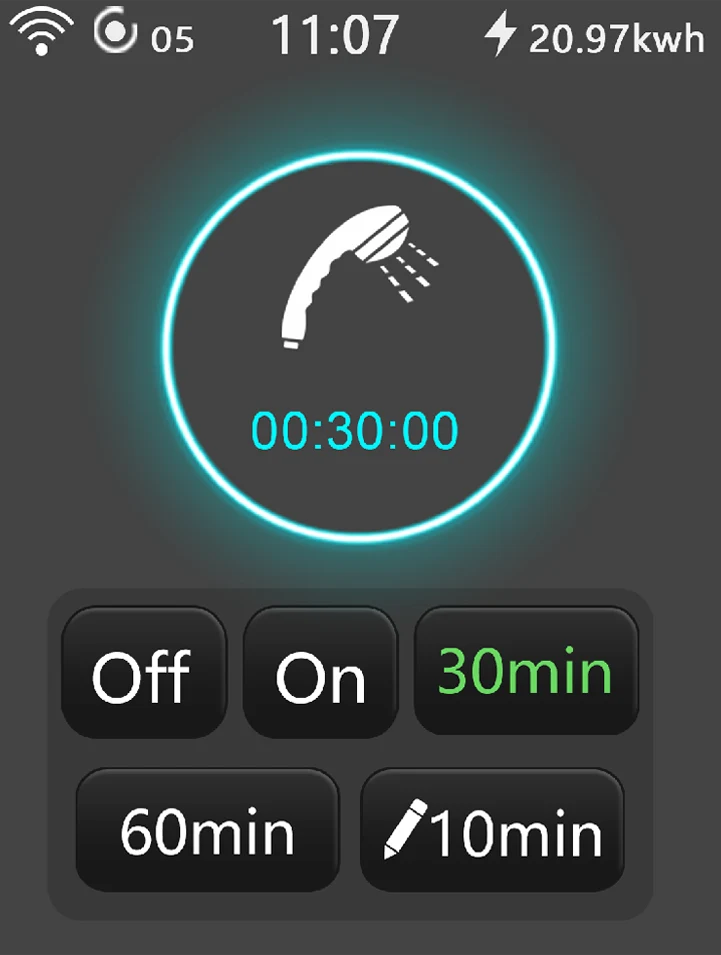
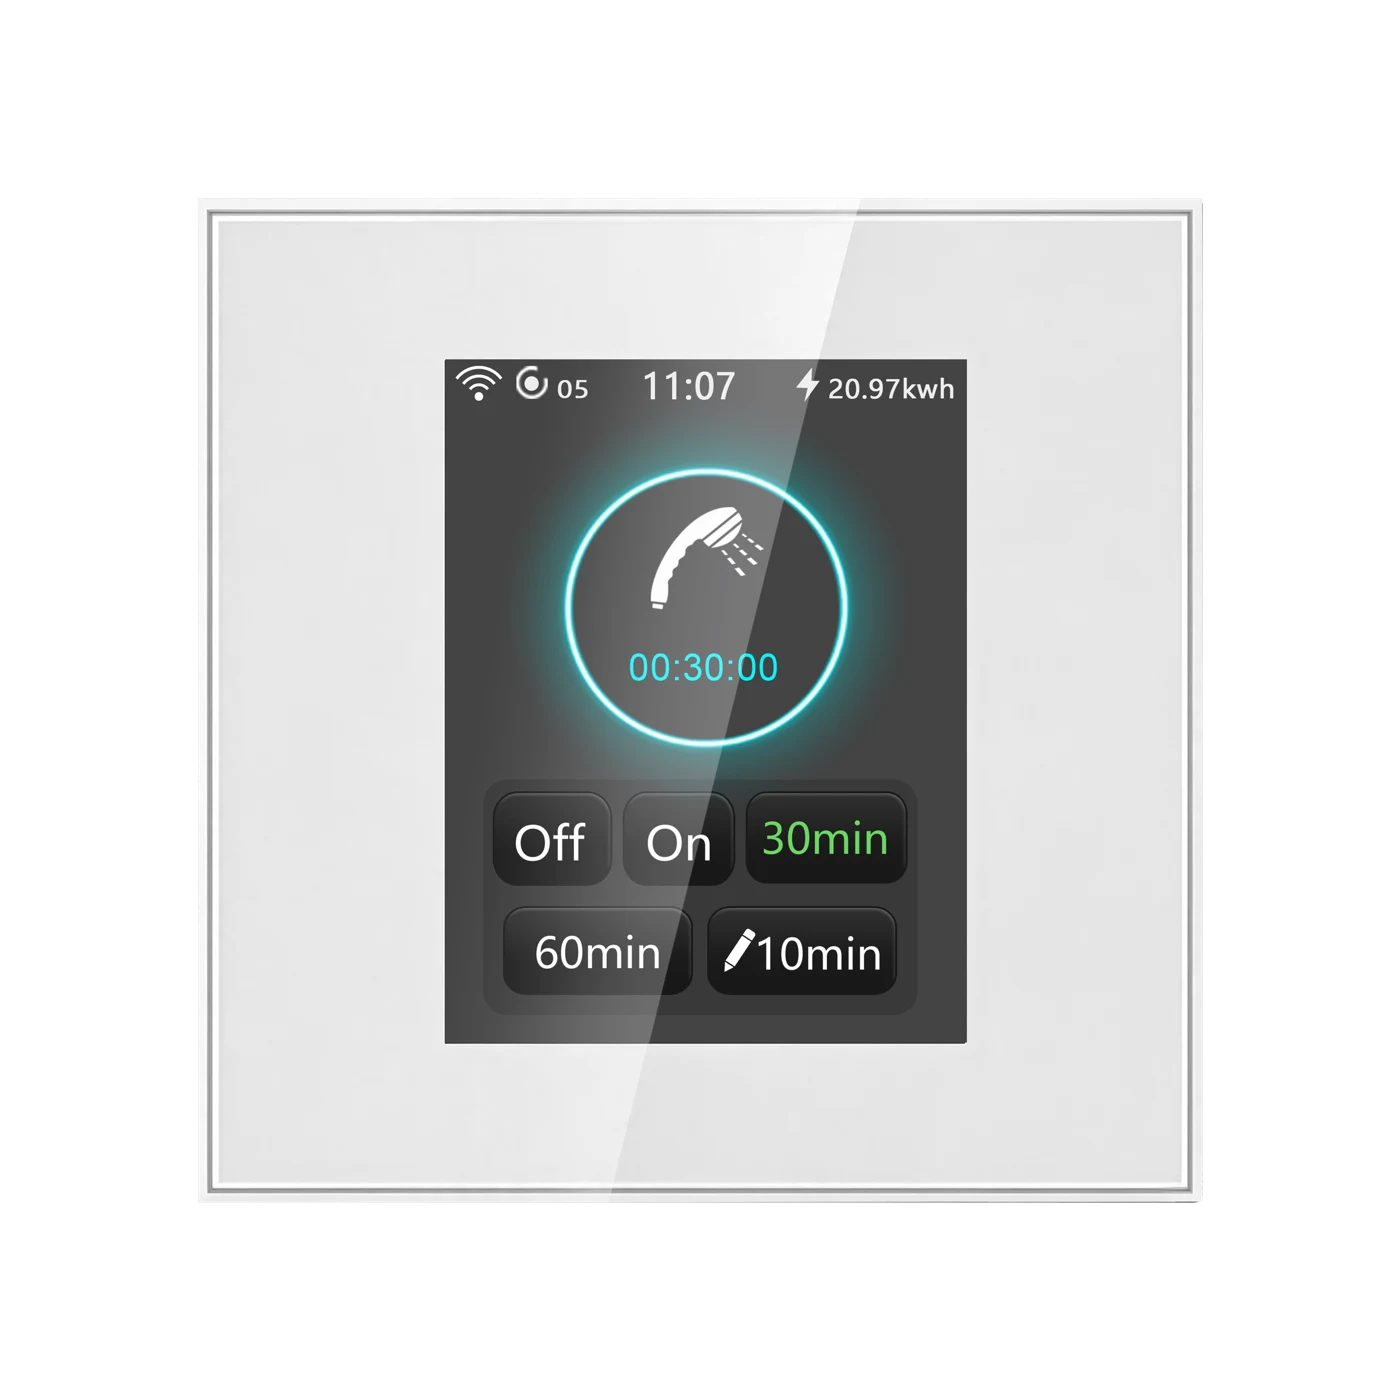
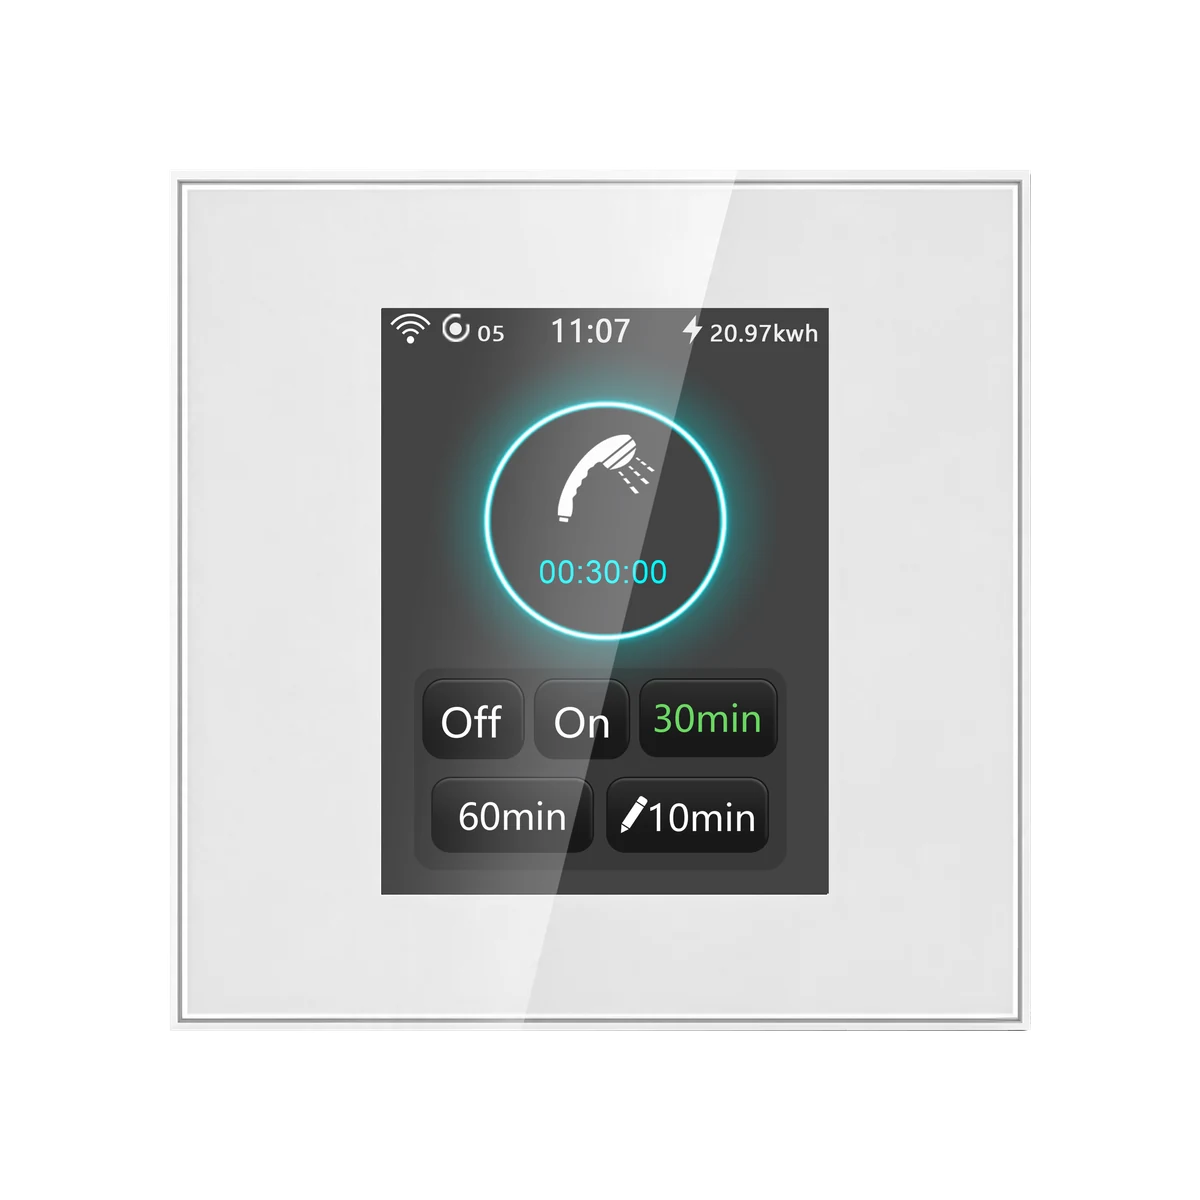
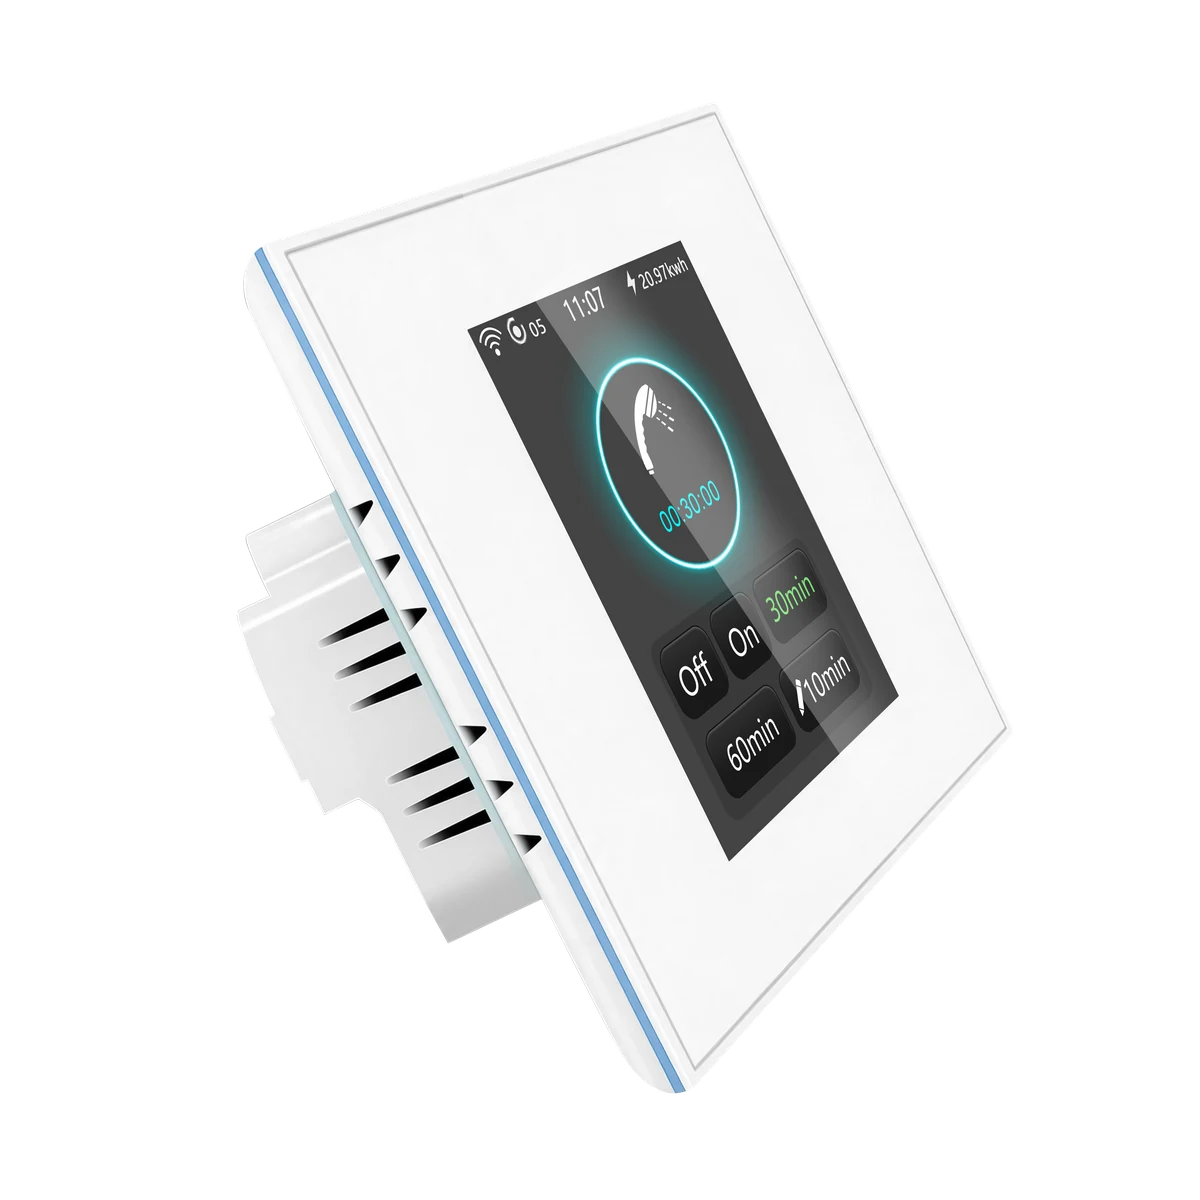
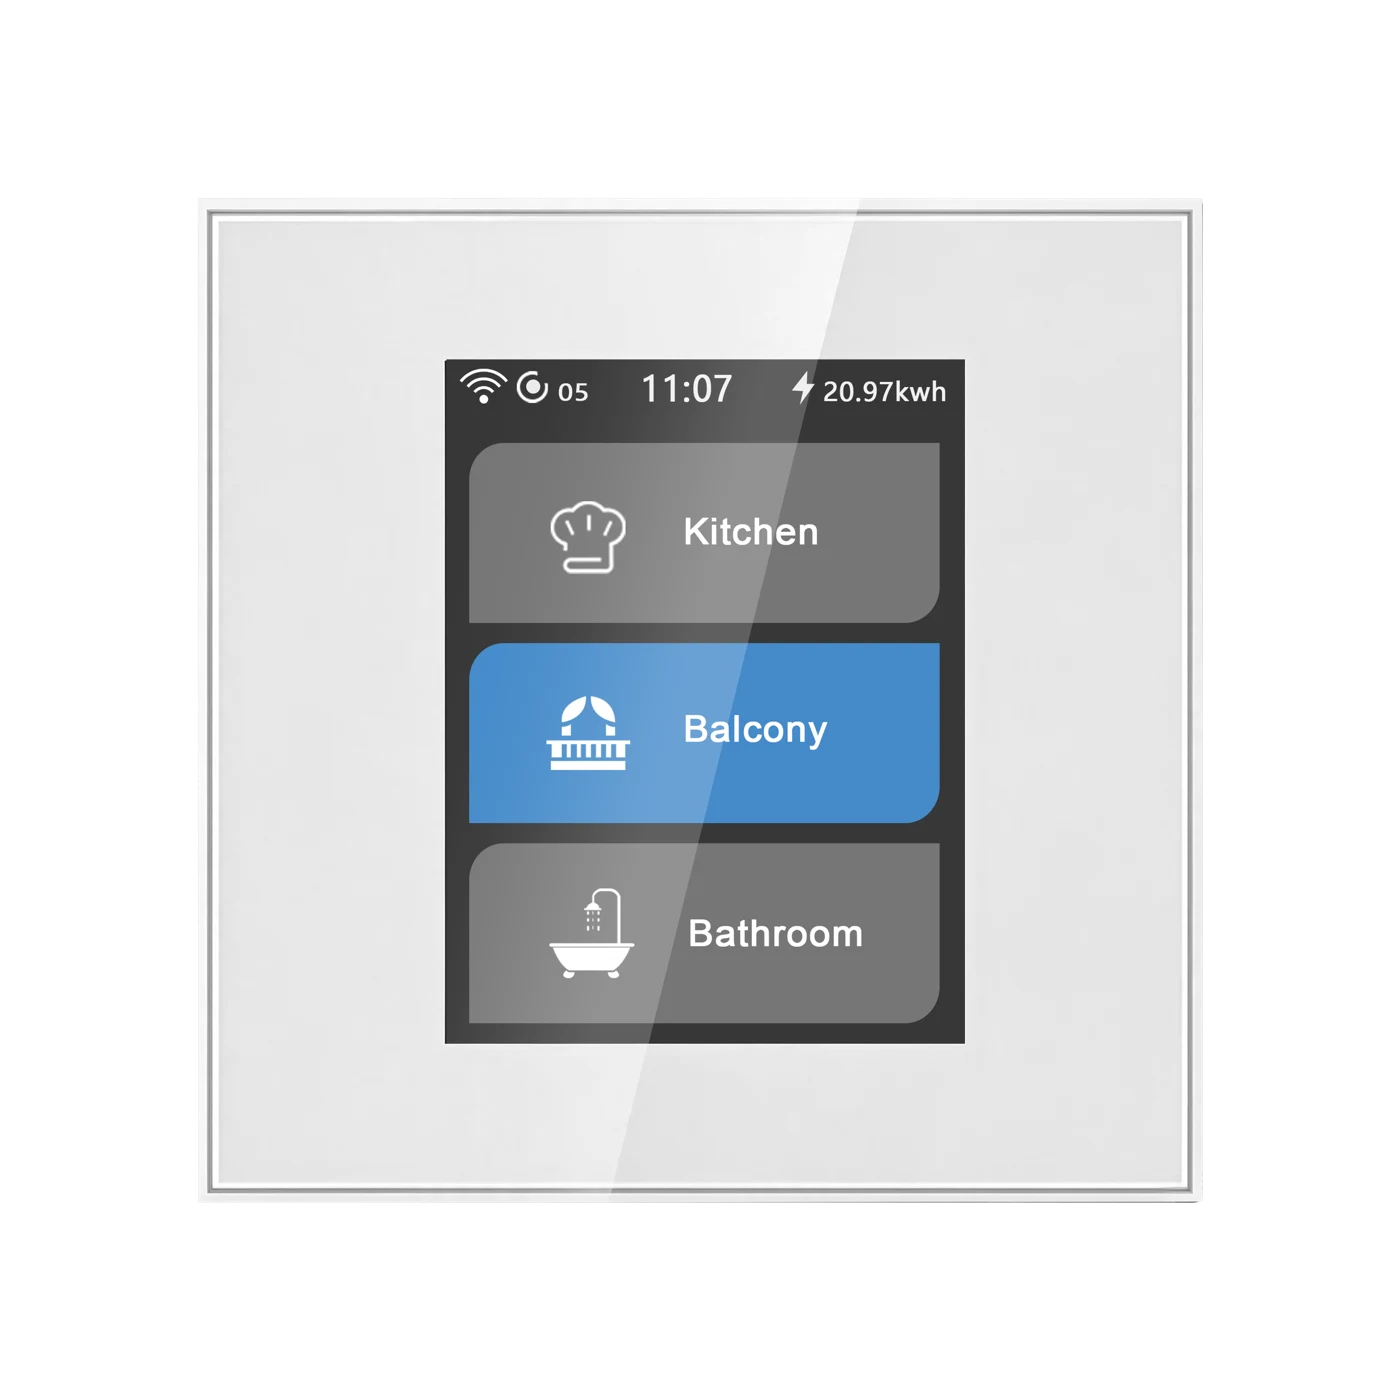
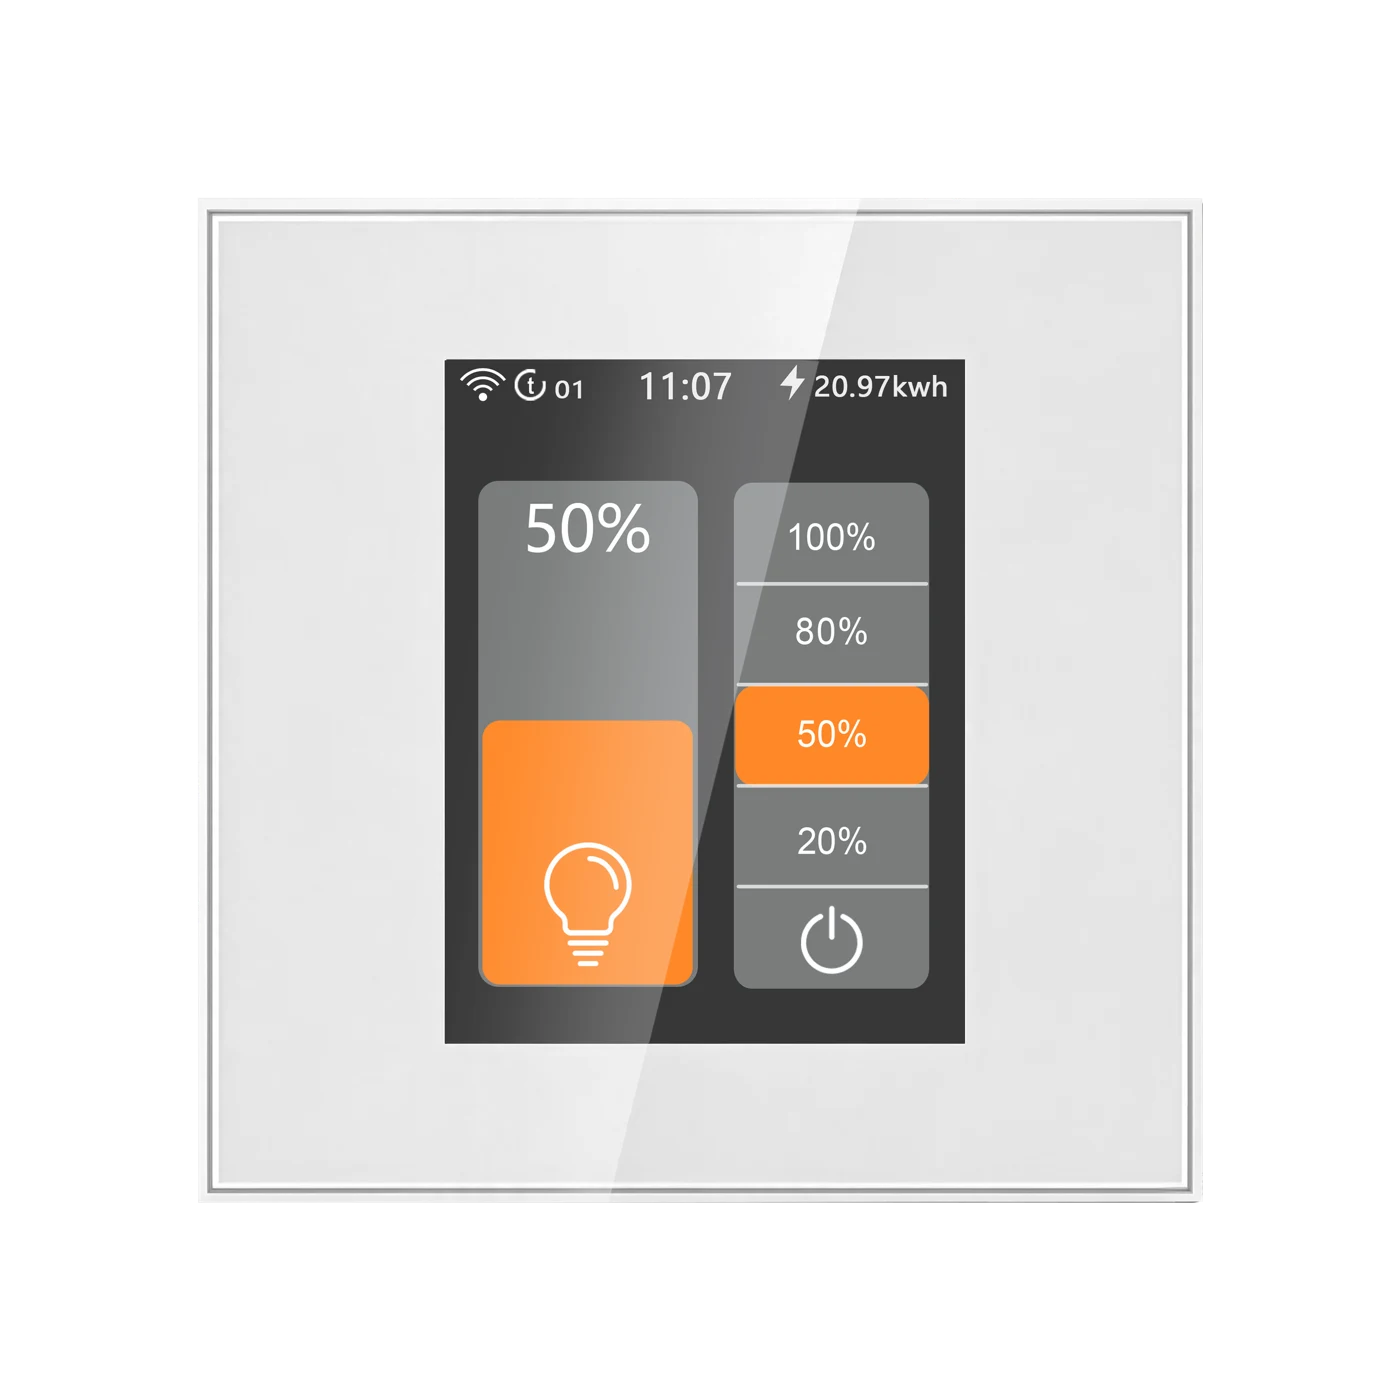
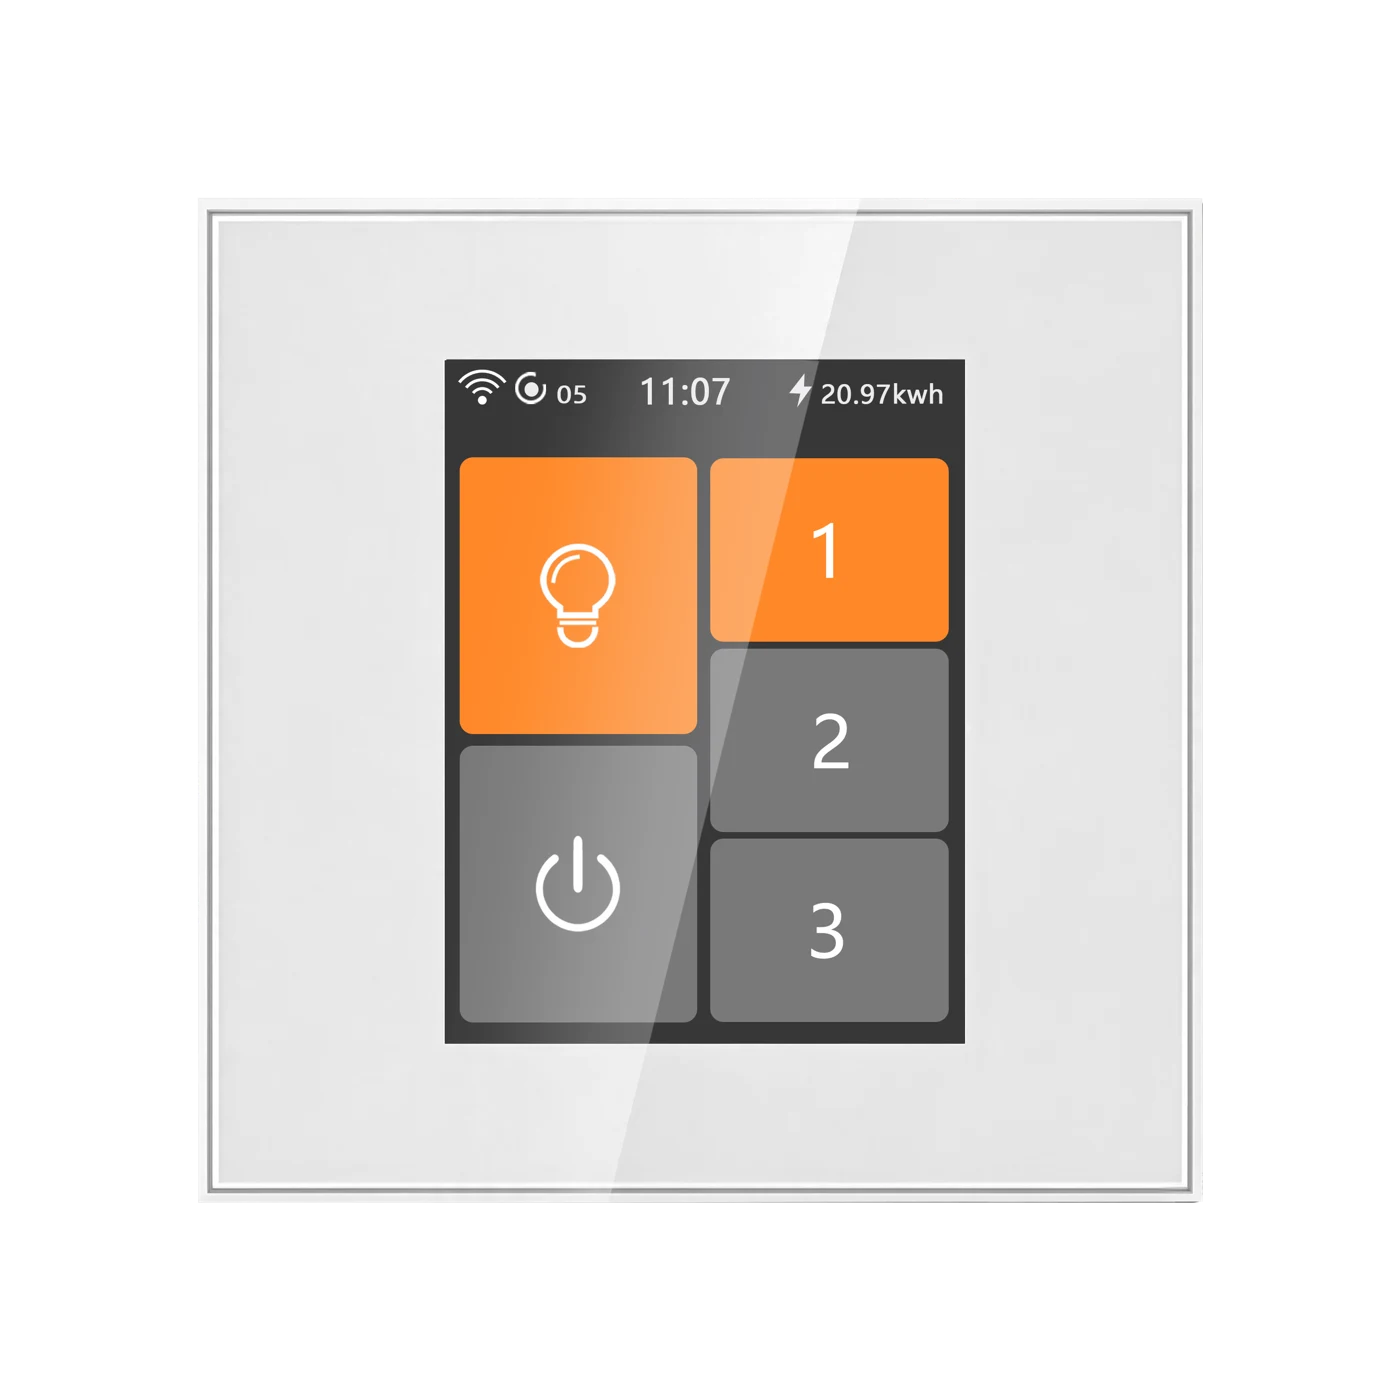
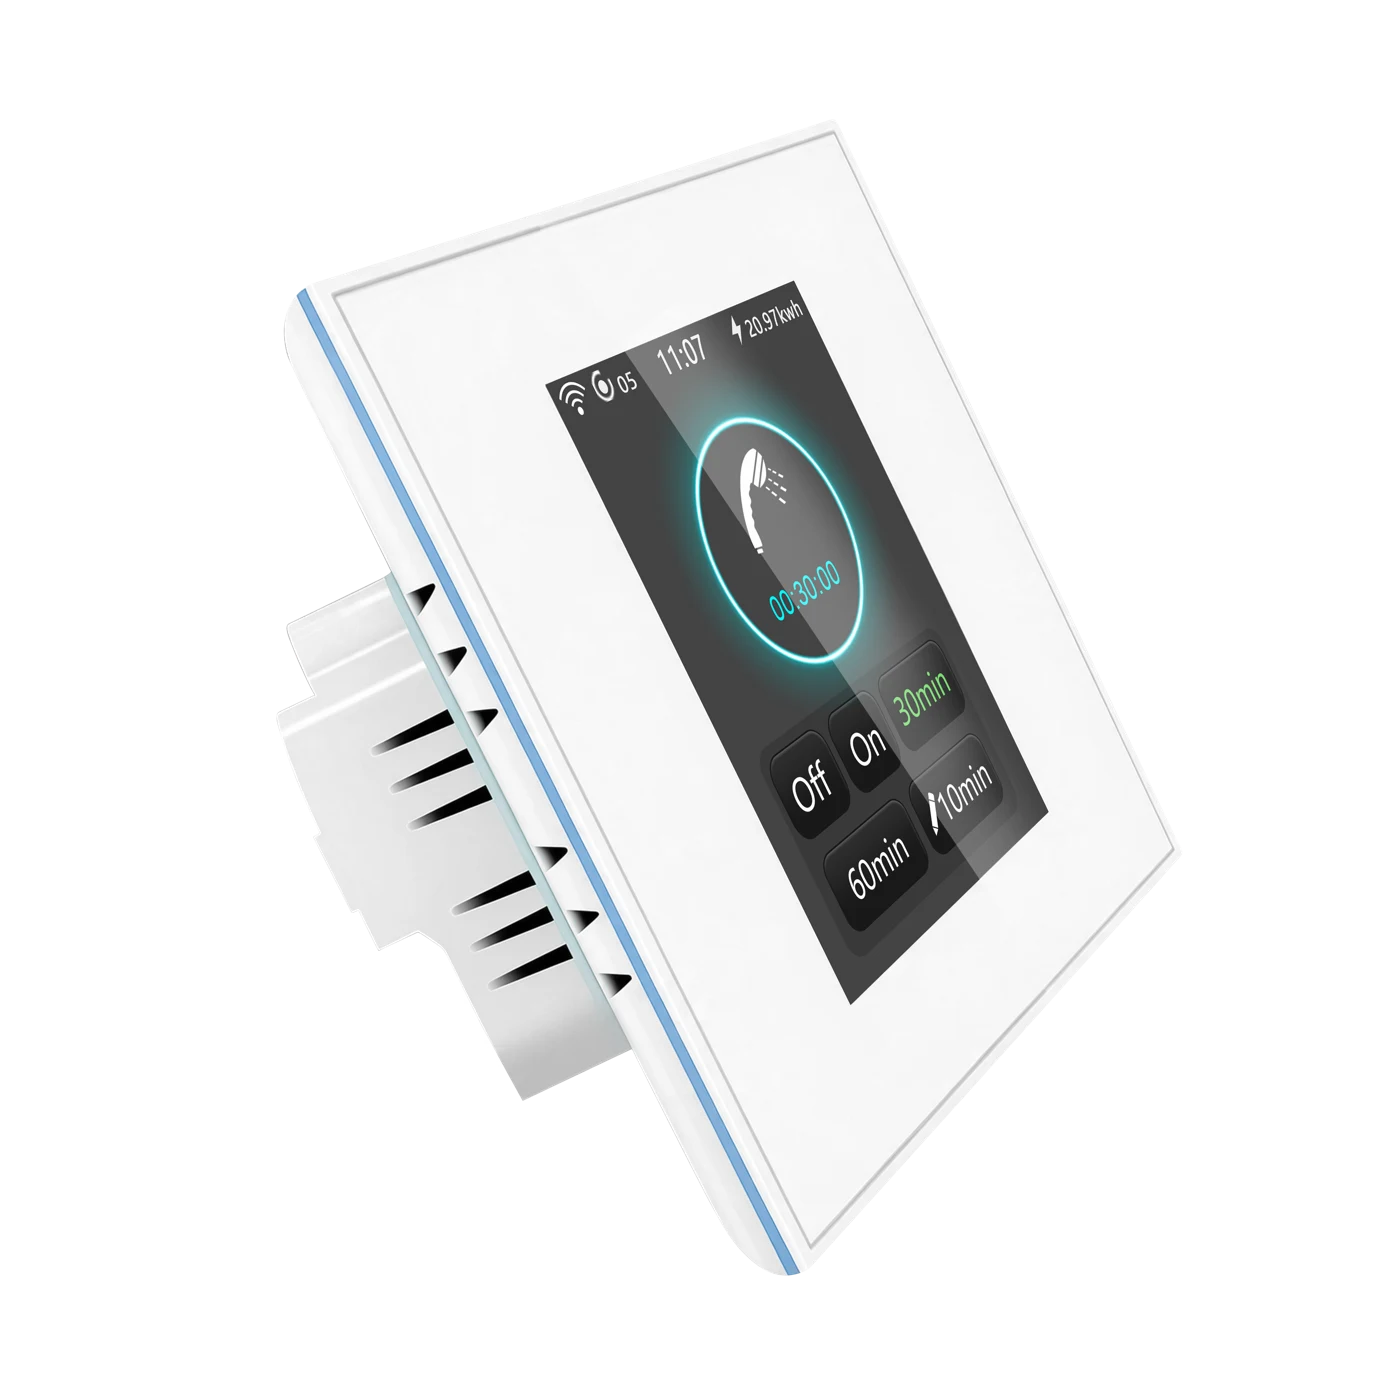
Explore the actual device interfaces for power control, a custom timer and display settings. Timer values and energy figures illustrate the interface, not a heating or metering guarantee.
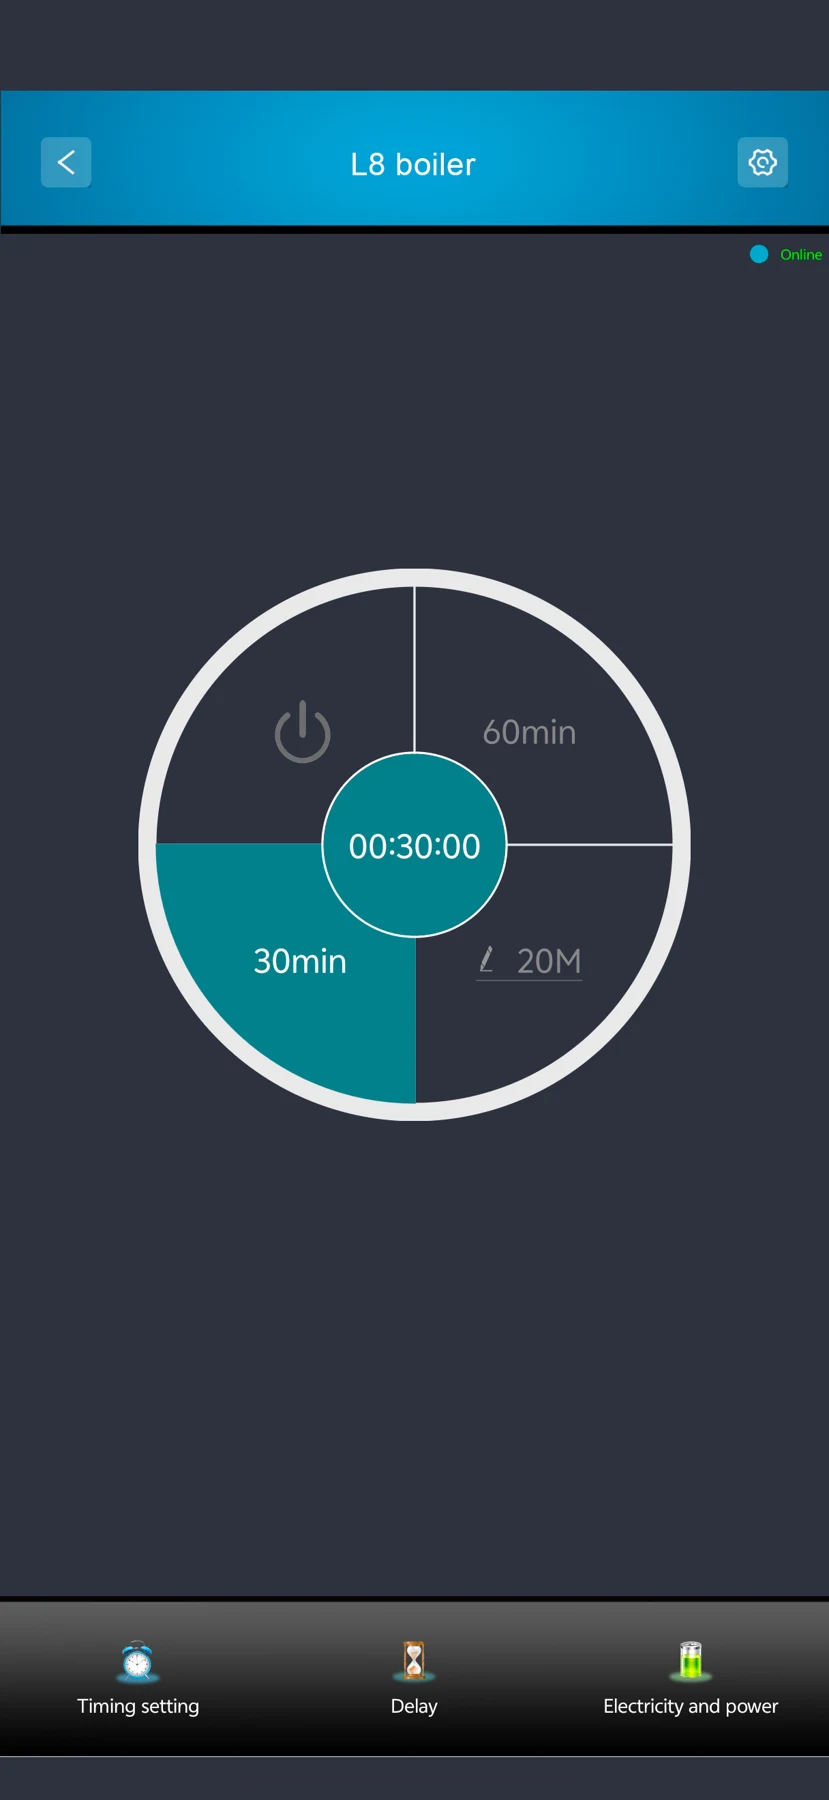
Switch power on or off, or choose a timer shortcut. ON means the relay is closed and the heater is powered; it does not mean the water is heating or ready.
Device interface examples. The heater's own thermostat and safety systems remain responsible for its heating behaviour.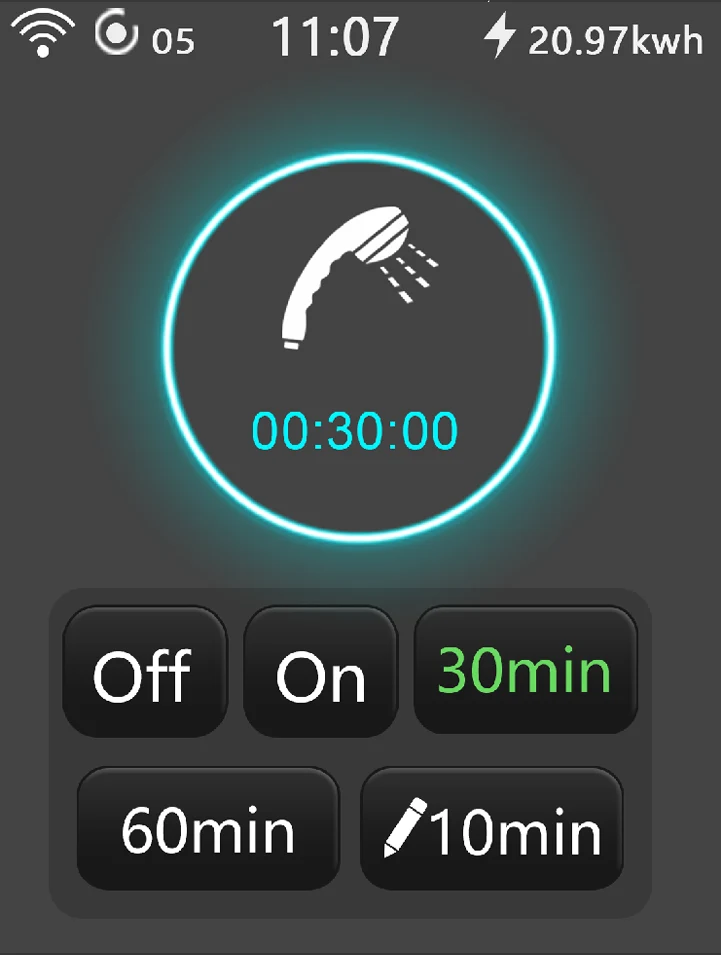
PERSONALISE YOUR DISPLAY
Choose a screen theme, adjust brightness and set horizontal or vertical orientation in the device settings.
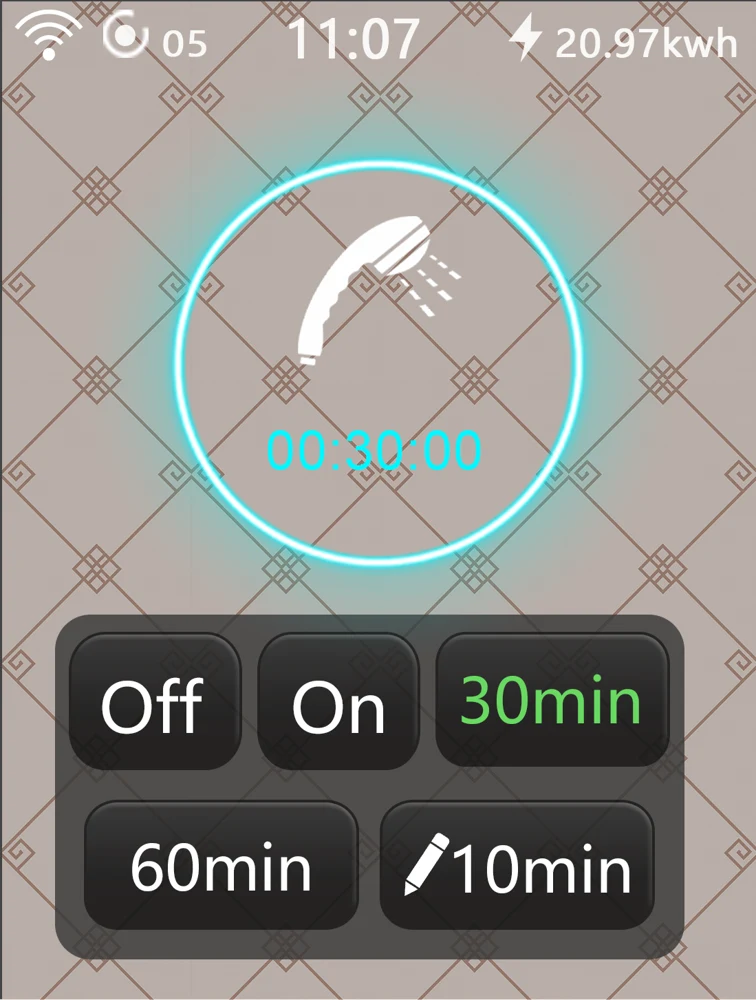
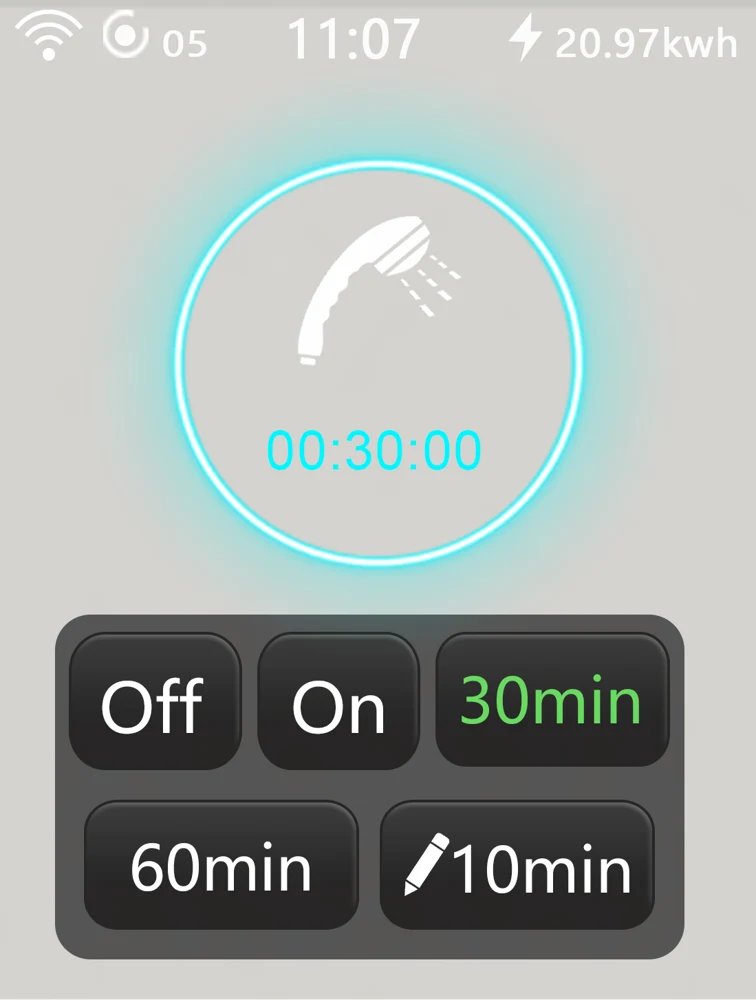
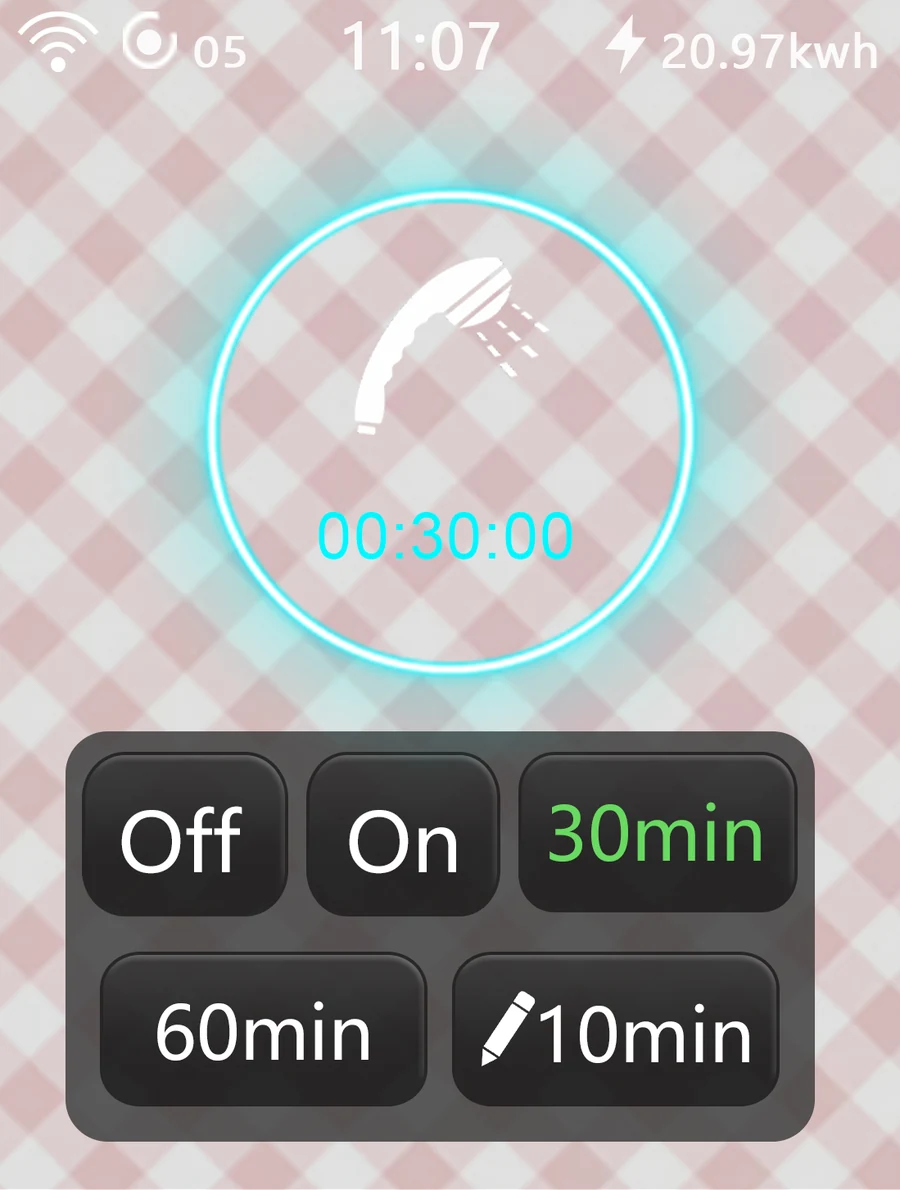
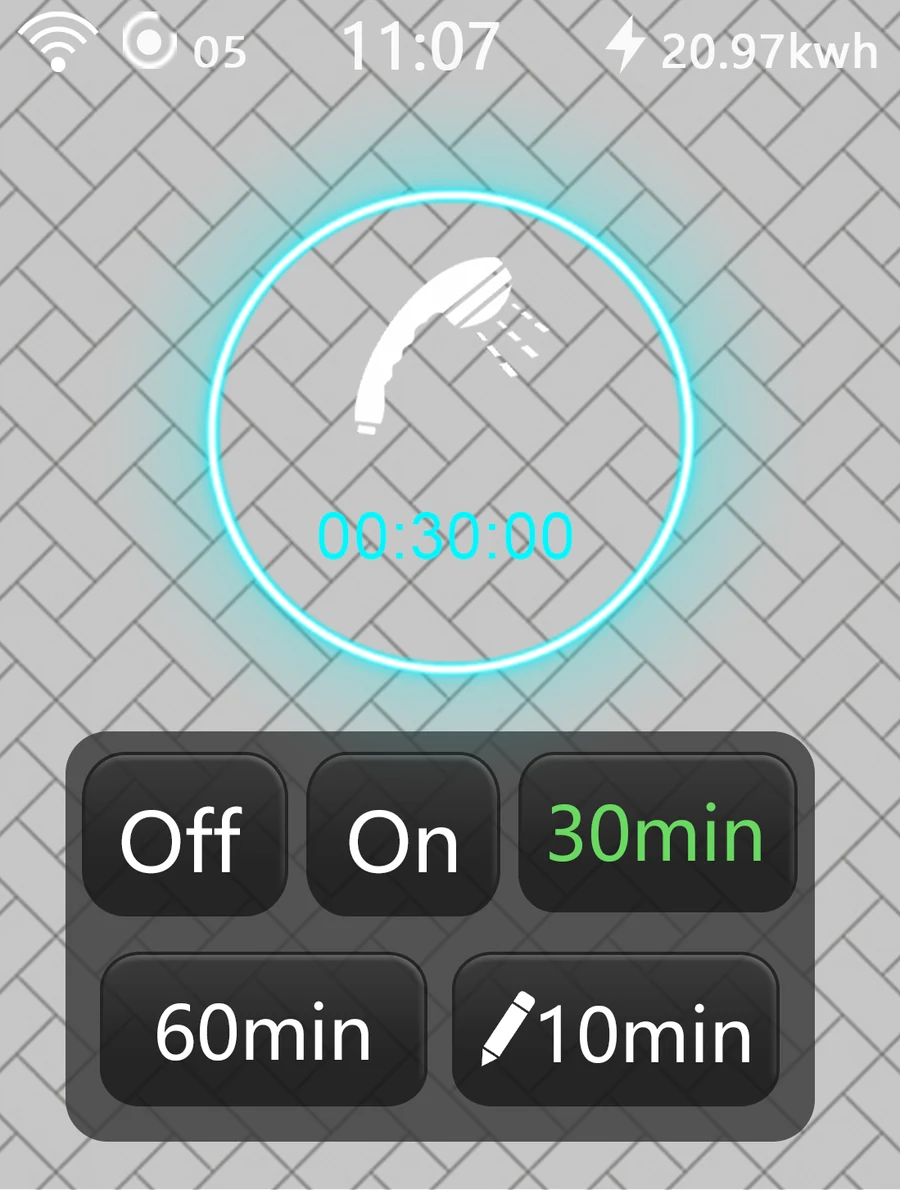
L8 · Themes
Choose one of five supplied themes for the LCD display. The theme changes the interface appearance; it does not change the heater's operating temperature.
L8 · EDGE LIGHTING
Let the panel edge breathe and change colour while idle, or choose a colour of your own. The decorative edge light is separate from the controlled lights or appliance.
EXPLORE THE GLOW
Let the edge light fade gently in and out as its colour changes. Automatic mode takes care of the colours for you.
Set the edge light and its time settings on the device. These controls preview the effect on this page; they do not configure a switch.
MADE FOR EVERYDAY USE
A tempered-glass panel and flame-retardant PC housing, with the display at the centre of everyday operation. Check the selected format and electrical requirements before installation.
SMART LIVING
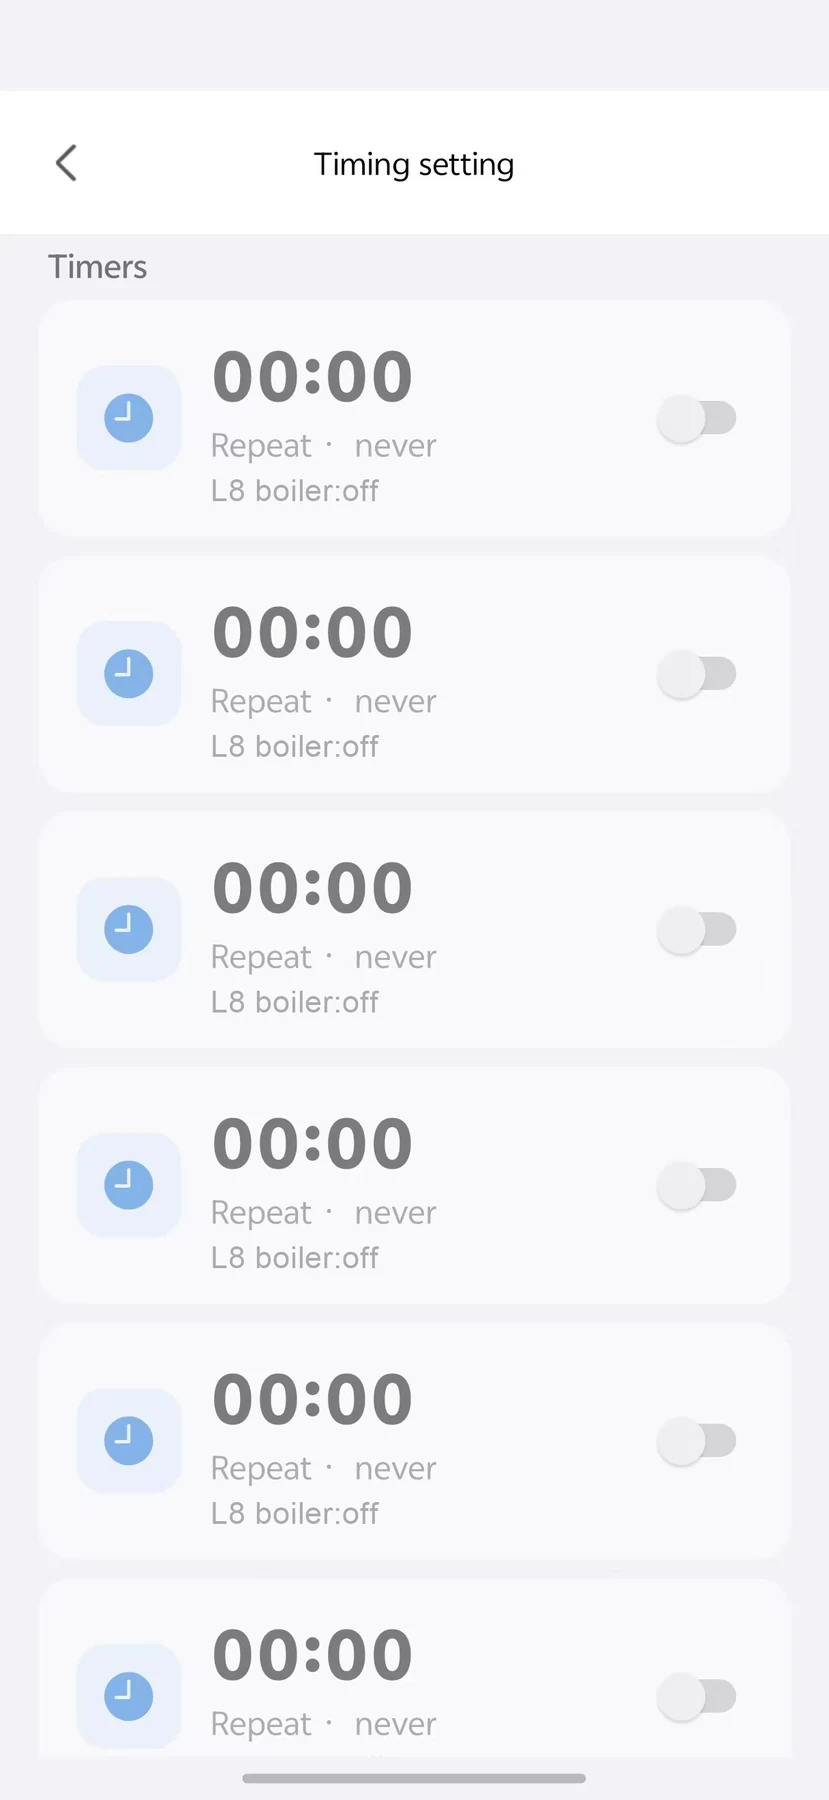
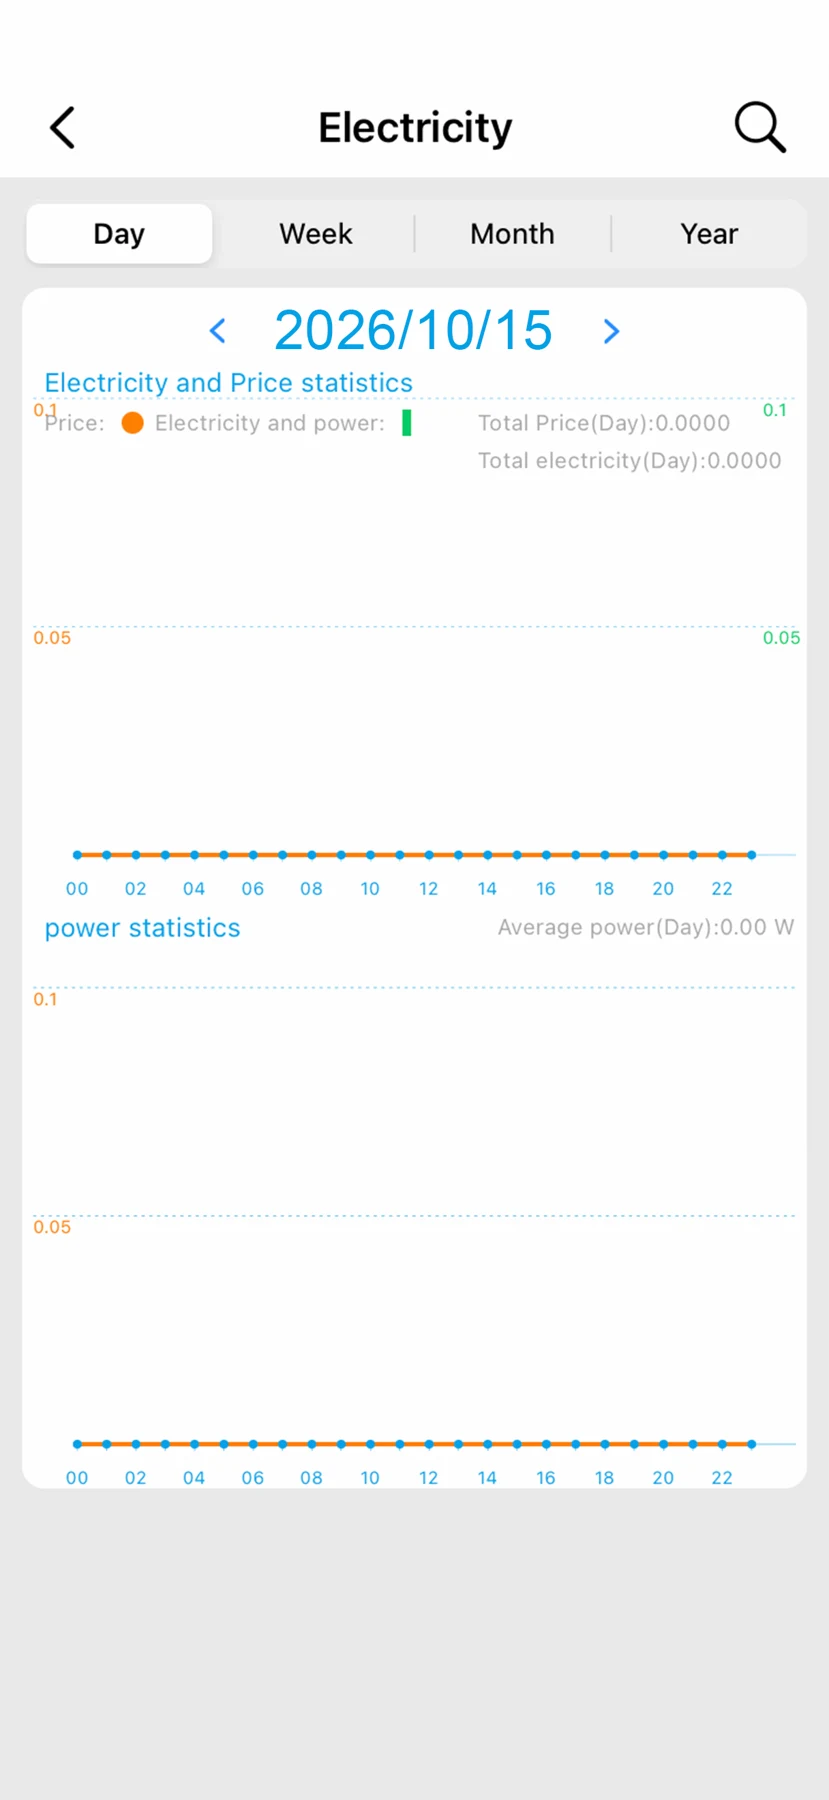
Use Smart Living to switch the heater's power, set schedules and view energy information. Connected features require setup, 2.4 GHz Wi-Fi and available network services. Displayed figures are interface examples; metering accuracy is not specified.
WI-FI MESH
Mix compatible L8 switches in one network: 7-in-1, 4-in-1, dimmer, fan and water heater controls. Switches connect through neighbouring nodes, so each switch does not need a direct Wi-Fi connection to the router.
 First configured switch7-in-1 switch · Master example
 Dimmer switchConnects through Mesh
 Fan switchConnects through MeshWater heater switchConnects through Mesh
Configure the first switch where the router signal is good. The system automatically sets this first configured switch as the master.
Complete setup for the other compatible switches. Keep adjacent Mesh switch nodes no more than 8 metres apart.
The switches automatically form their Mesh network. Any compatible switch can serve as the master when configured first; a separate gateway or host is not required.
L8 switches form a network within the L8 series; it does not extend household Wi-Fi for phones or computers. Remote app and cloud features still require the router, internet access and available services.
L8-HB · LANBON edition
Send commands and receive device state through your own MQTT broker.
MQTT developer guide →Read device capabilities, send commands and retrieve state through the LANBON local API.
Use the local API →PRODUCT VIEWS
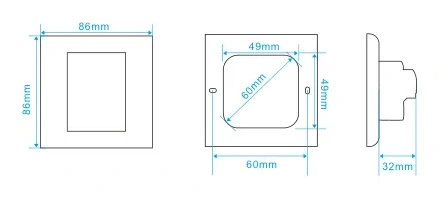
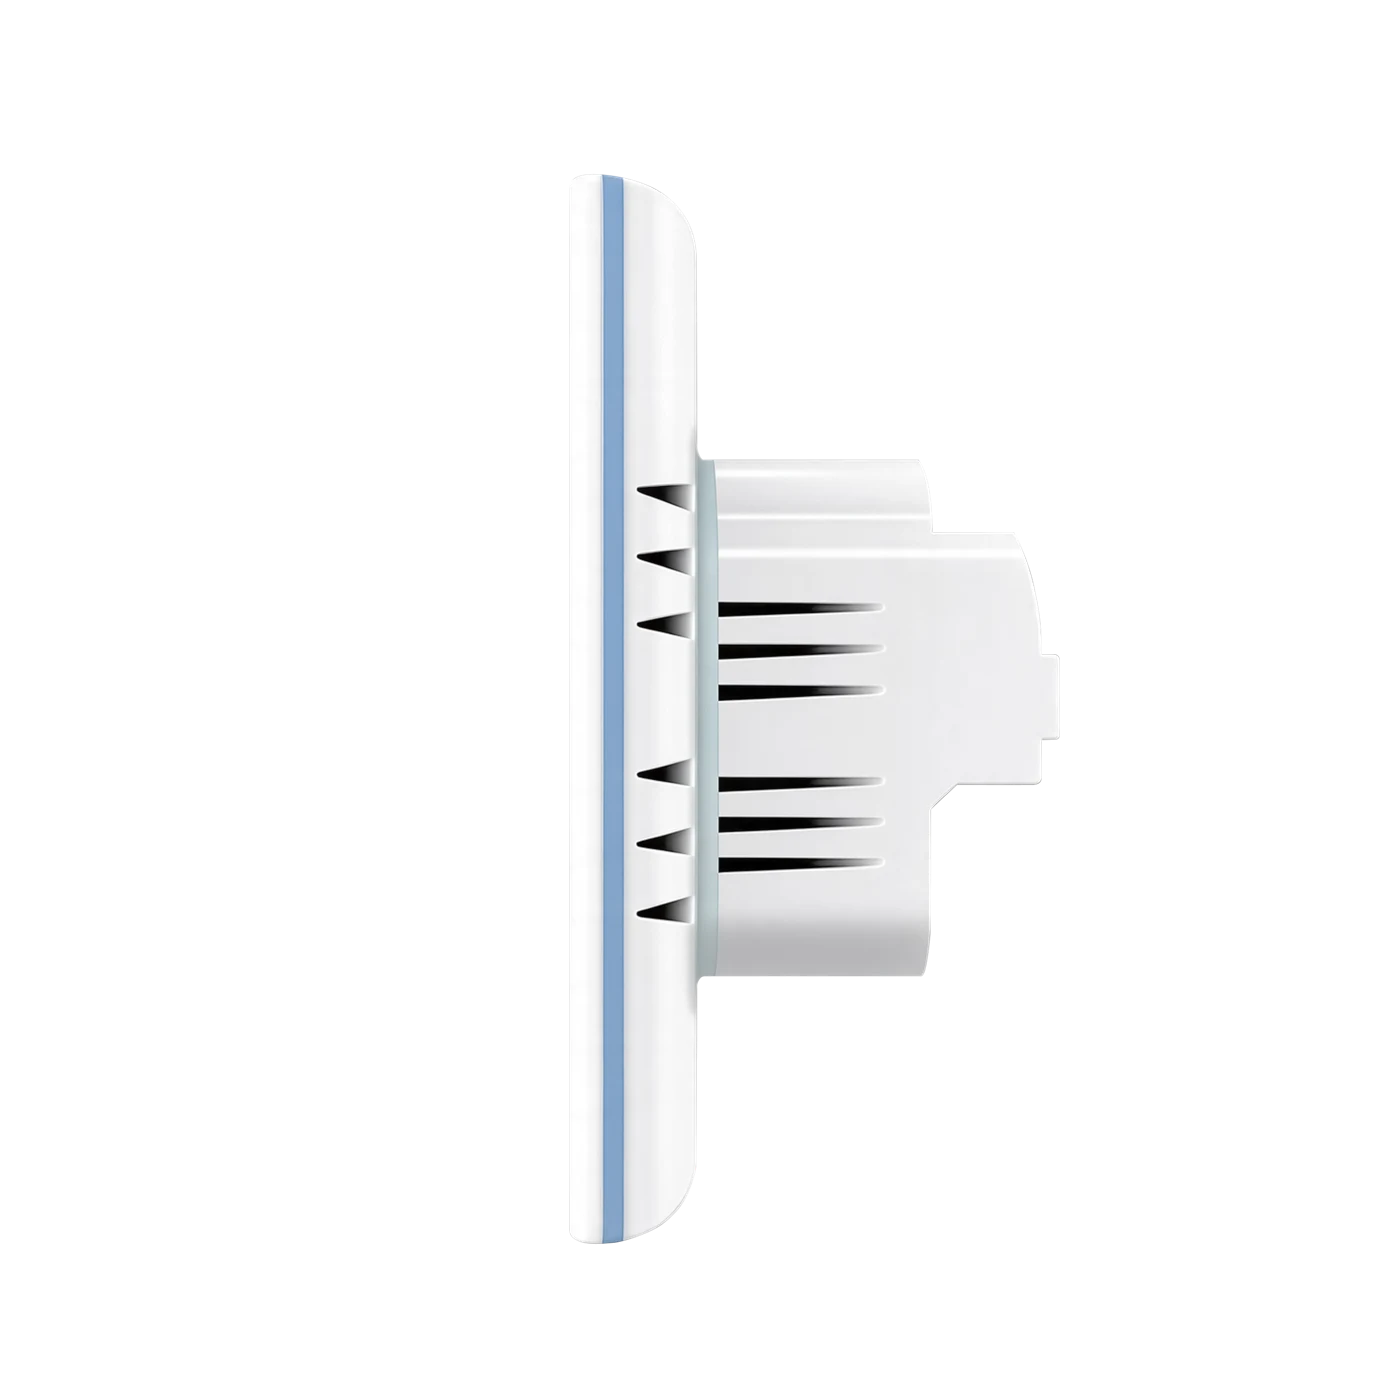
L8-HB · 86 × 86 mm · White
MODEL & SPECIFICATIONS
The facts for your chosen panel.
EU: 60 mm fixing centres. Use a compatible square or round box. >38 mm; ≥50 mm recommended, with sufficient wiring space · 14–12 AWG
HEATER & CIRCUIT COMPATIBILITY
For a compatible single-phase resistive heater within the supplied version's current rating. Confirm the actual supply voltage and heater nameplate before connection.
ON indicates a closed relay, not active heating, water temperature or hot-water readiness. Retain the heater's thermostat and all required circuit and safety protection.
Instantaneous electric heaters, gas heaters, inductive loads or loads above the supplied version's rating. A timer or app command is not an independent safety cut-out.
INSTALLATION
WATCH THE CONTROLS
Supplied LANBON-version control demonstration; no heating-time, temperature or safety-performance test is implied.
DOCUMENTS & SUPPORT
Preview or download panel dimensions, wall-box drawings and package contents. Ask support for current double-pole wiring instructions, certification applicability and regional service terms.